It's like talking to a brick wall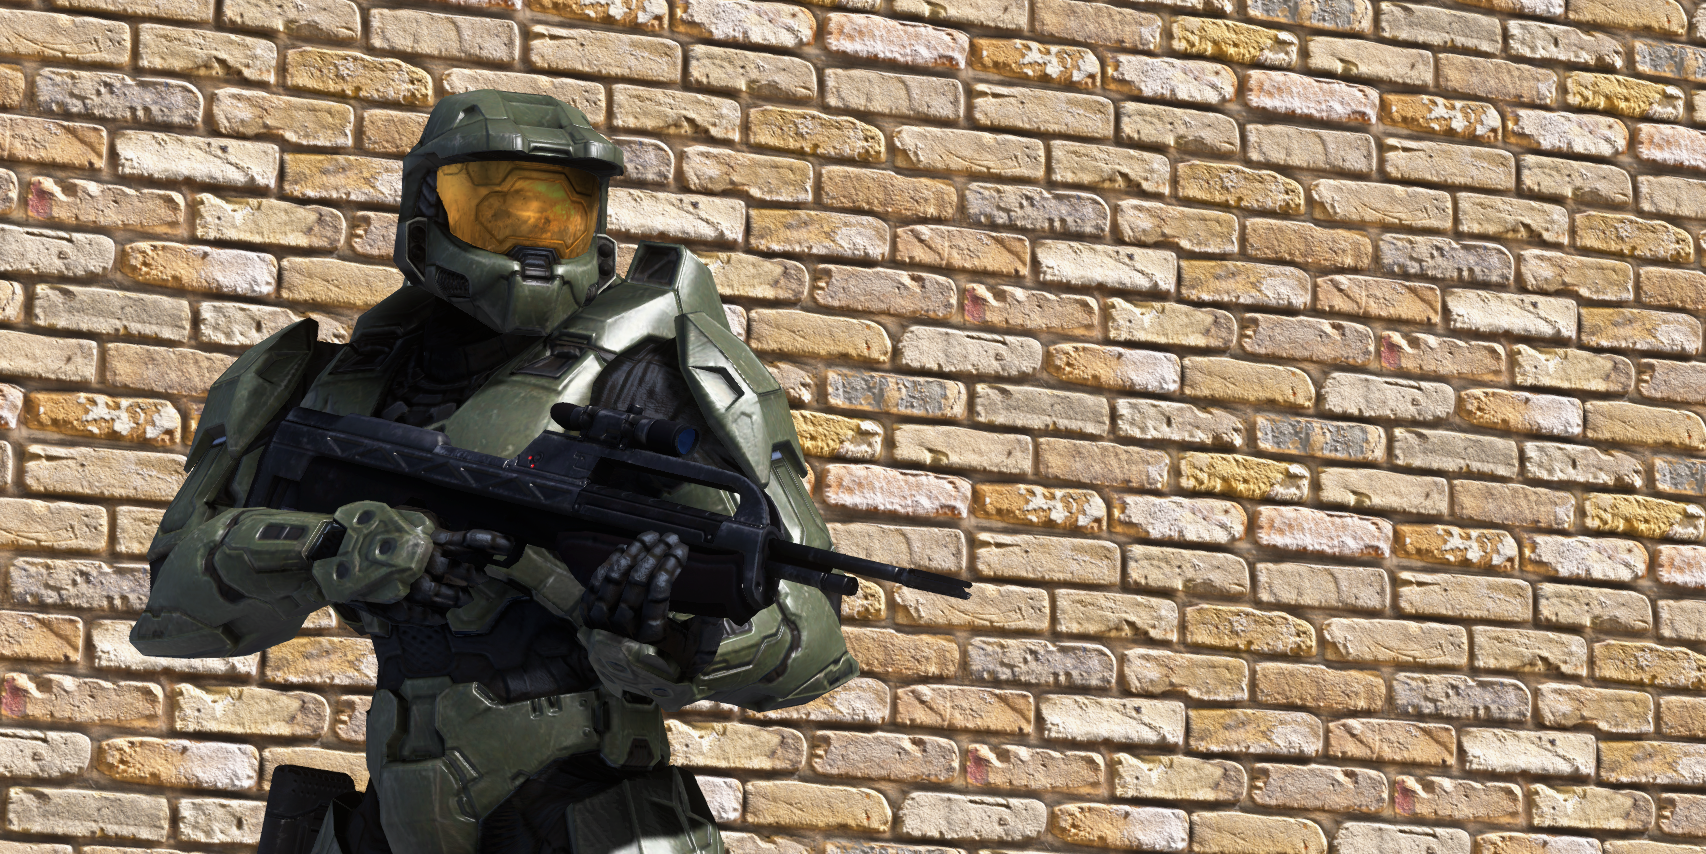
Halo 3 includes a PBR-like shader that allows artists to convert their premade PBR assets to work with Halo 3's shader system. This guide will explain how to convert your existing PBR assets into Halo 3.
What is PBR?
An example of PBR
Physically based rendering (PBR) is a way of rendering images that mimics how light works in the real world. Most modern game engines have a form of this method in their shading systems.
Halo 3's "PBR"
Halo 3 PBR shader in action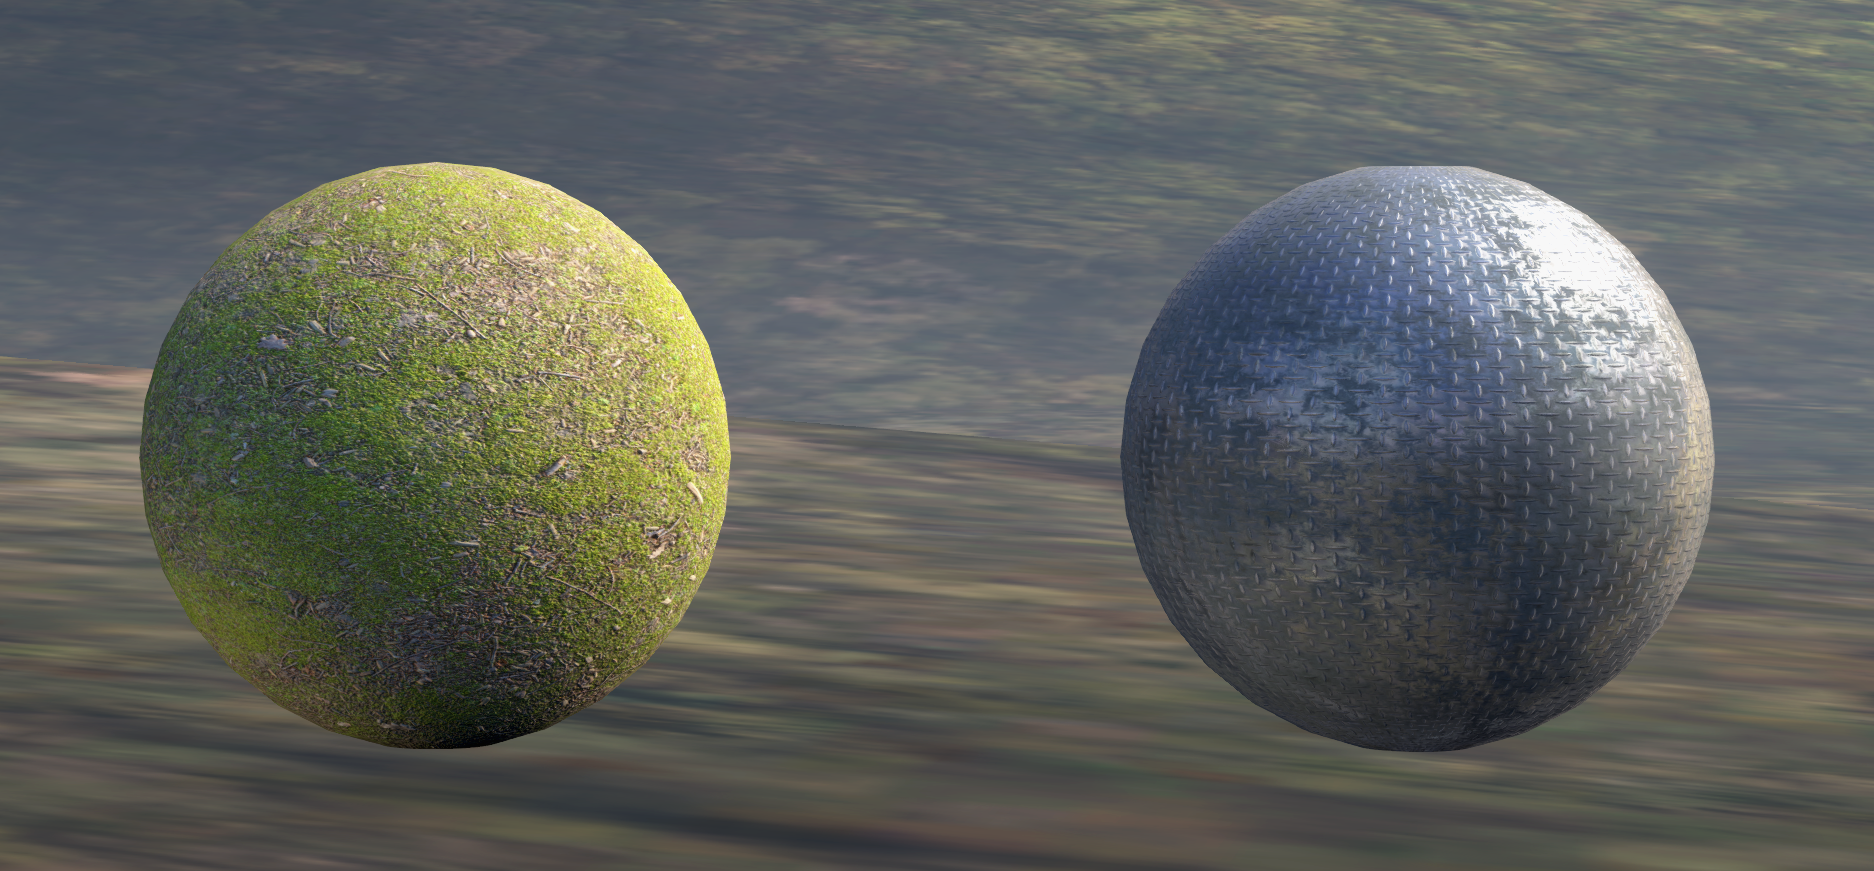
With the release of the weapon and vehicle skins update to Halo 3 MCC, 343 Industries implemented a new material_
There is no definitive way to utilize this shader at this time, as even 343 Industries uses inconsistent shader settings with this shader. This guide however is a good baseline setup to start with.
The PBR shader needs three types of textures to work with:
- Diffuse map
- Control map
- Normal map
NOTE - Optional textures to have:
- Emission Map
- Parallax/Displacement Map
Converting existing textures
Step 1: creating a diffuse map
Halo 3's cook_
You will need two textures for creating a Diffuse map:
- Albedo/base color
- Ambient occlusion
Conversion steps
- Open up your Albedo map in your photo editing program.

Albedo map
- Create a new layer over your Albedo map.
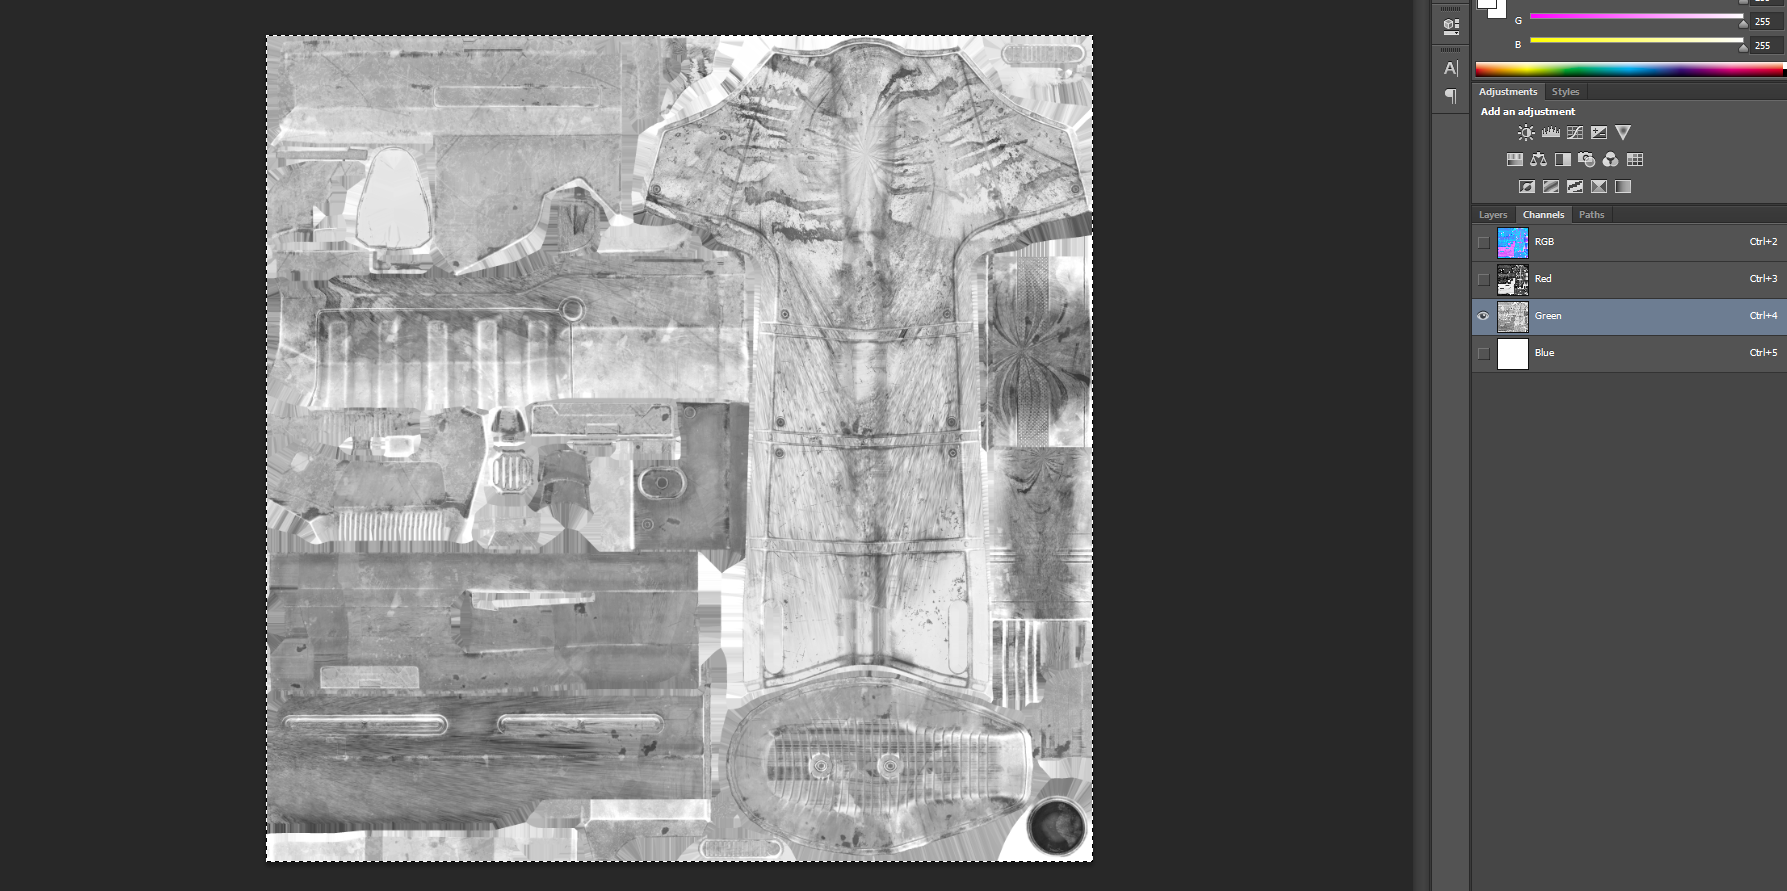
- Copy and paste your Ambient Occlusion map into the new empty layer.
- Set the blend mode of the Ambient Occlusion to Multiply.
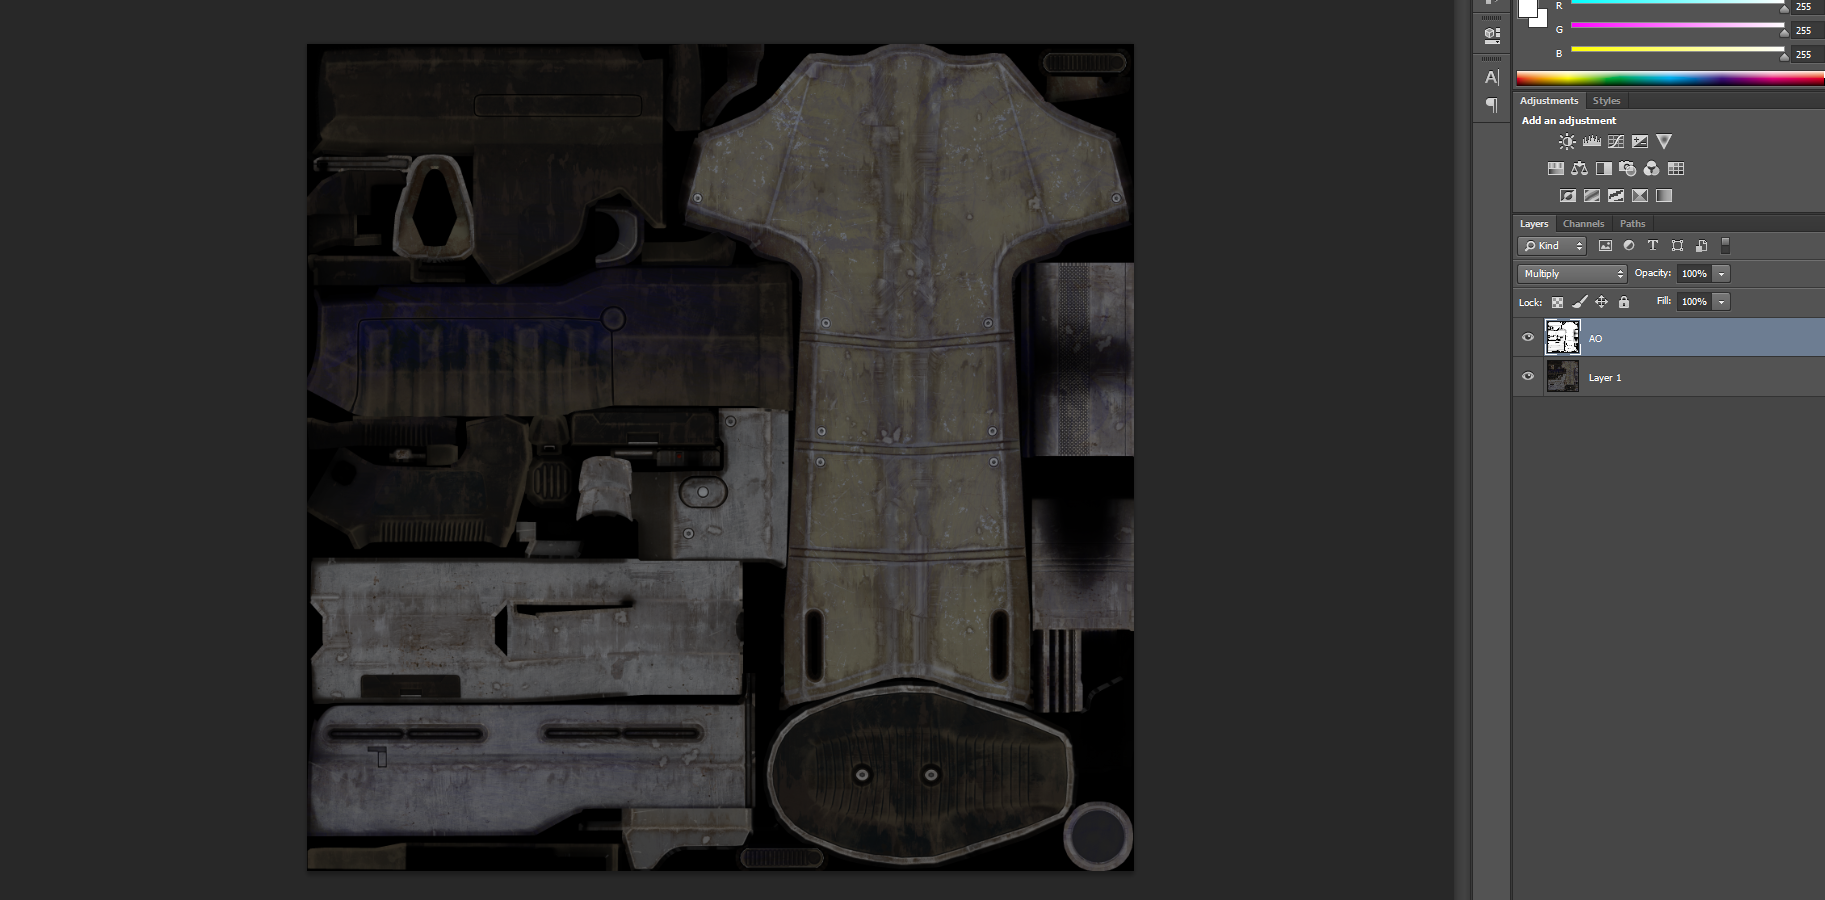
Multiplied Ambient Occlusion map
- Save your new Diffuse map as .TIF in your asset's bitmaps folder.
You now have a converted Diffuse map. Make sure to save an editable copy of the Diffuse map in case you wish to make changes later.
Step 2: creating a specular map
If you have a texture set that does not include a Metallic map, you do not need to make a Specular map. You can skip this step.
In Halo 3, the shininess/highlights of a surface is defined using Specular maps. Halo 3 uses more stylized Specular maps compared to other industry Specular maps, so you will need to create your own. Below is an experimental method in creating Halo 3 styled Specular maps.
You will need three textures:
- Metallic
- Roughness
- Ambient occlusion
Conversion steps:
- Open up your Metallic map in your photo editing program.
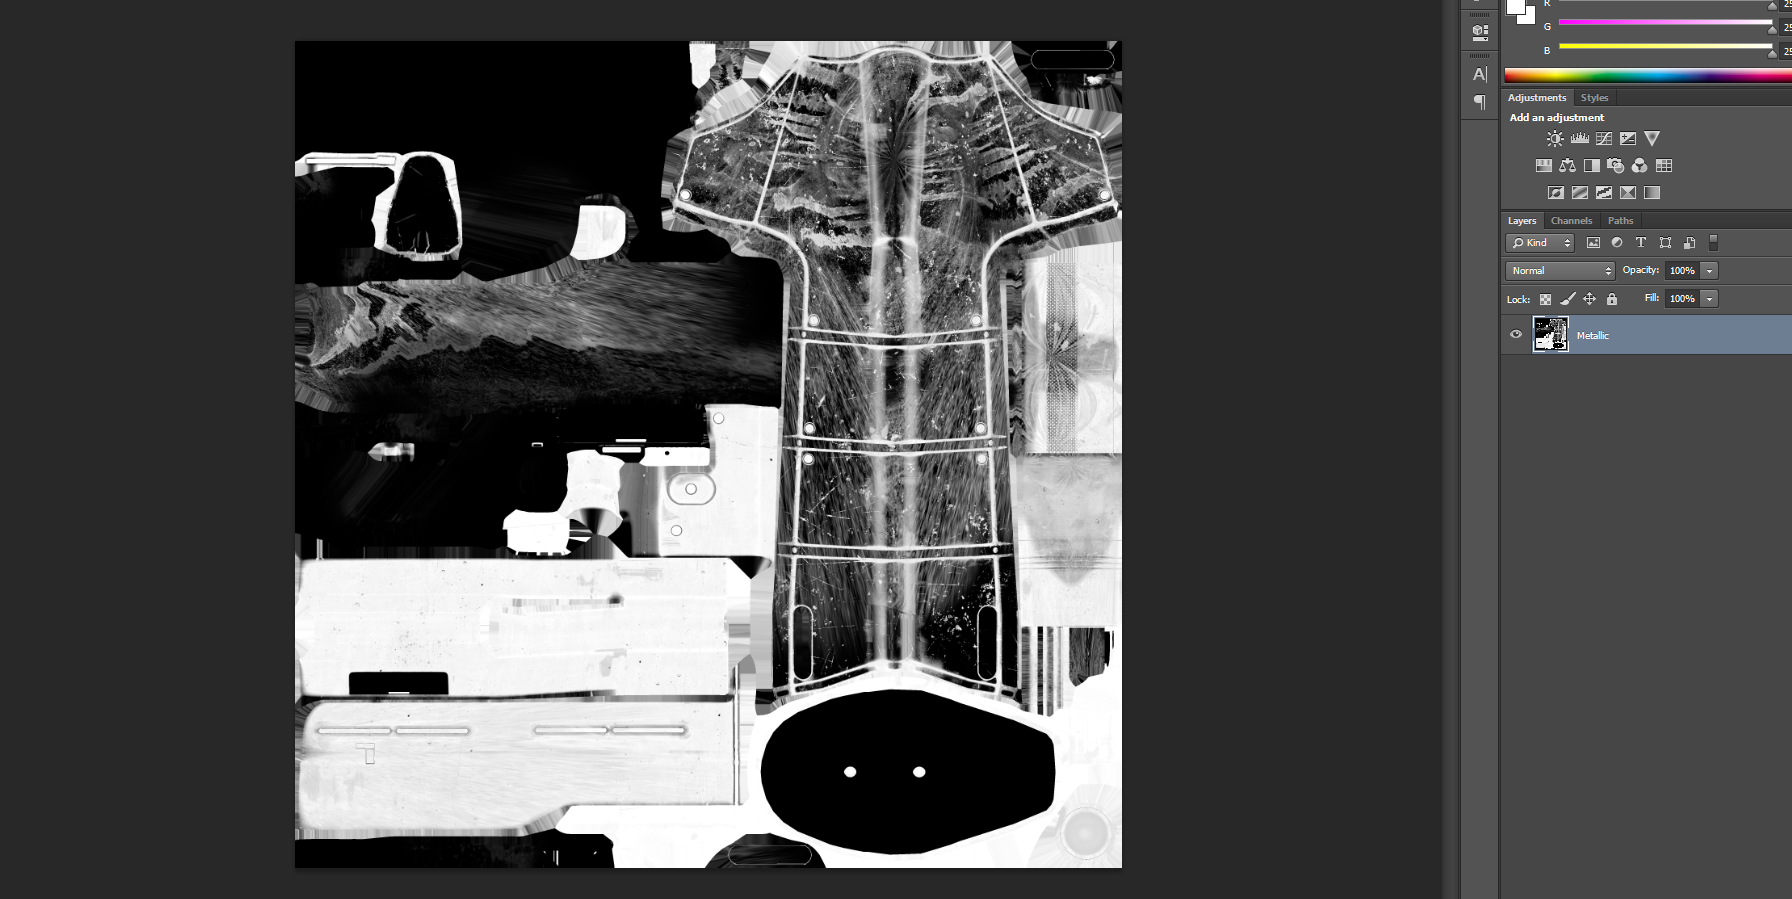
Metallic map layer
- Create a new layer over your Metallic map.
- Copy and paste your Roughness map into the new empty layer.
- Press Ctrl + I to invert the Roughness map.
- Set the blend mode of the Roughness map to Lighten
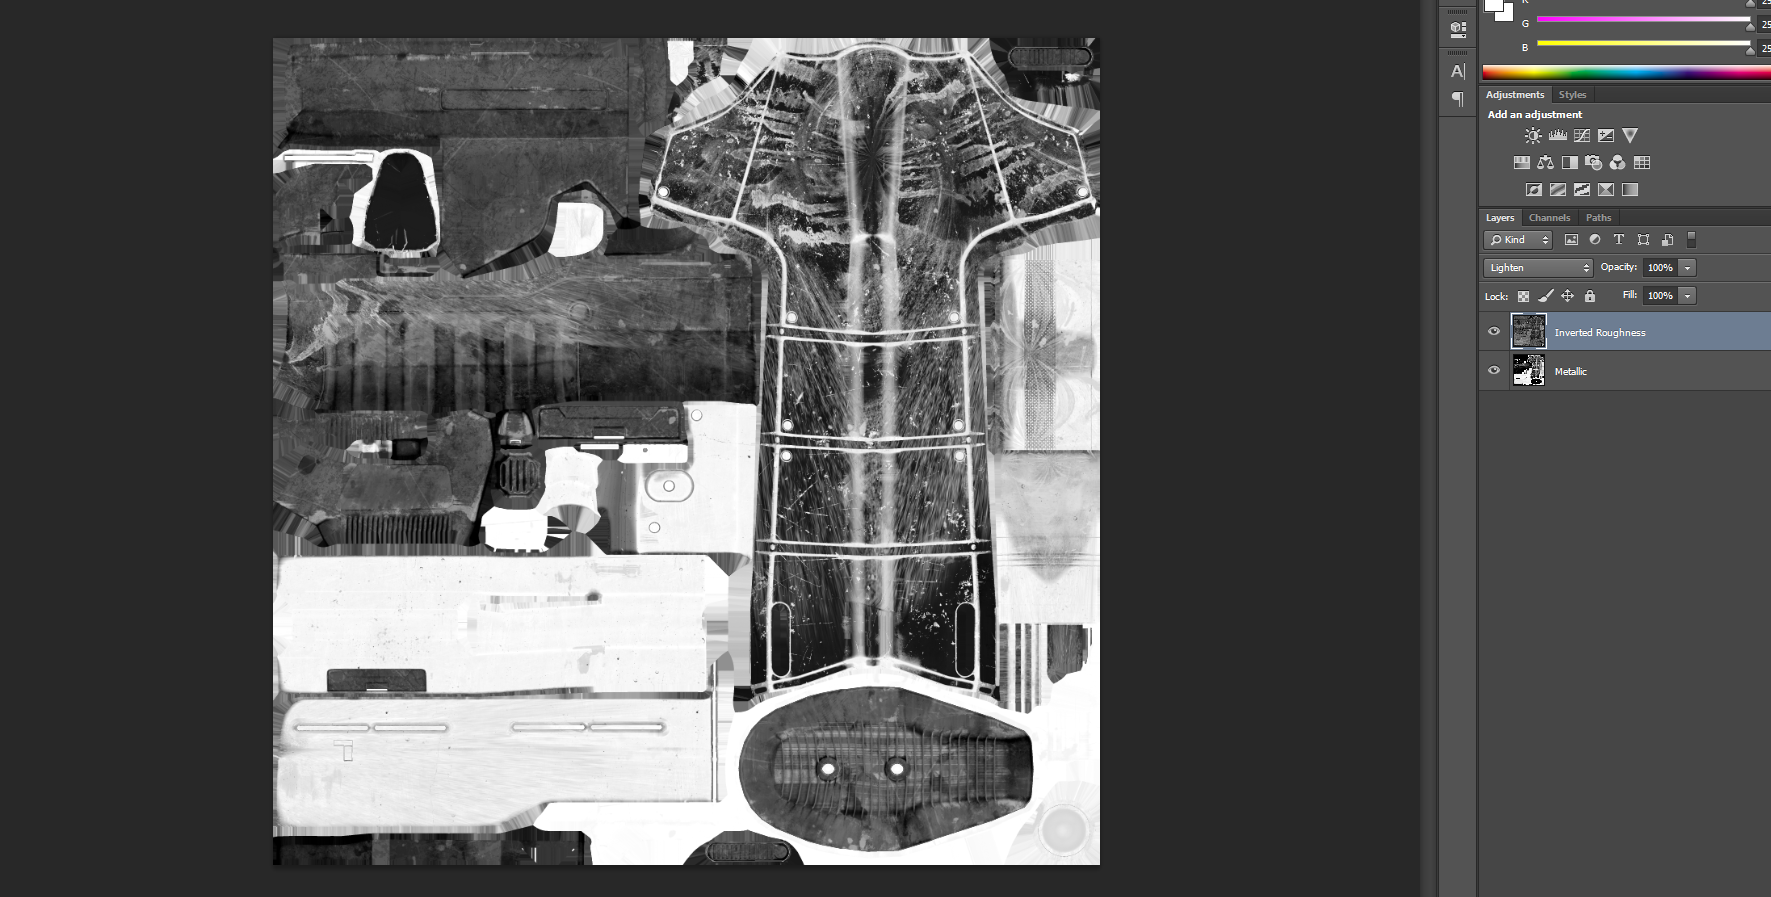
Inverted Roughness Map
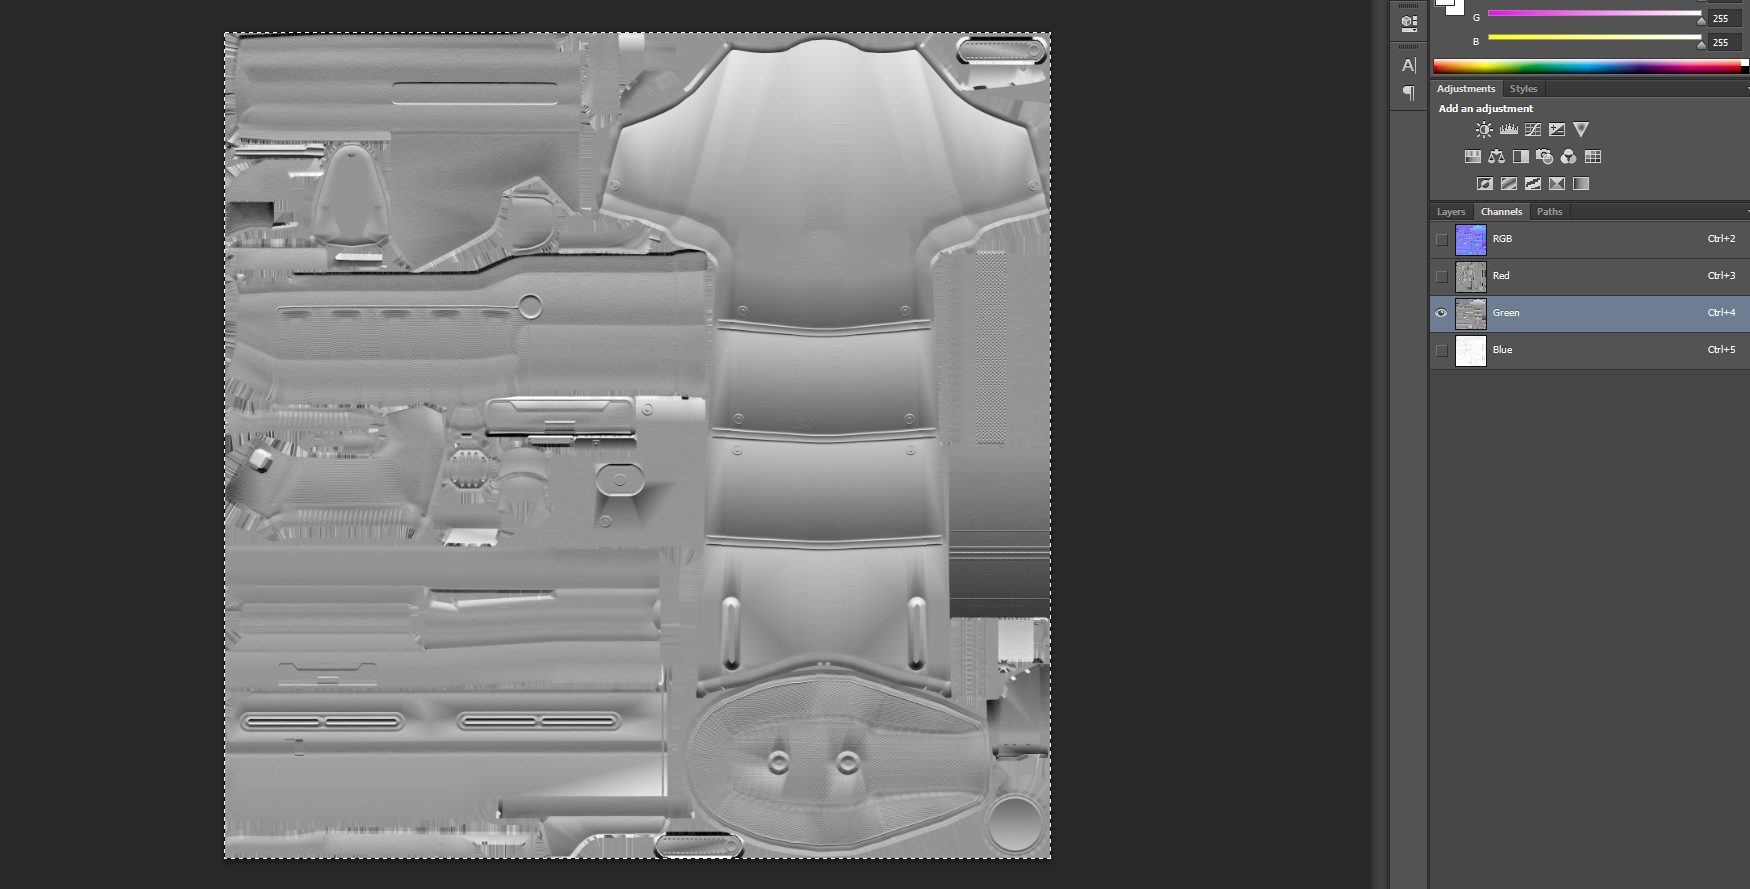
- Create a new layer over your inverted Roughness map.
- Copy and paste your Ambient Occlusion map into the new empty layer.
- Set the blend mode of the Ambient Occlusion to Multiply and the opacity to 75%.
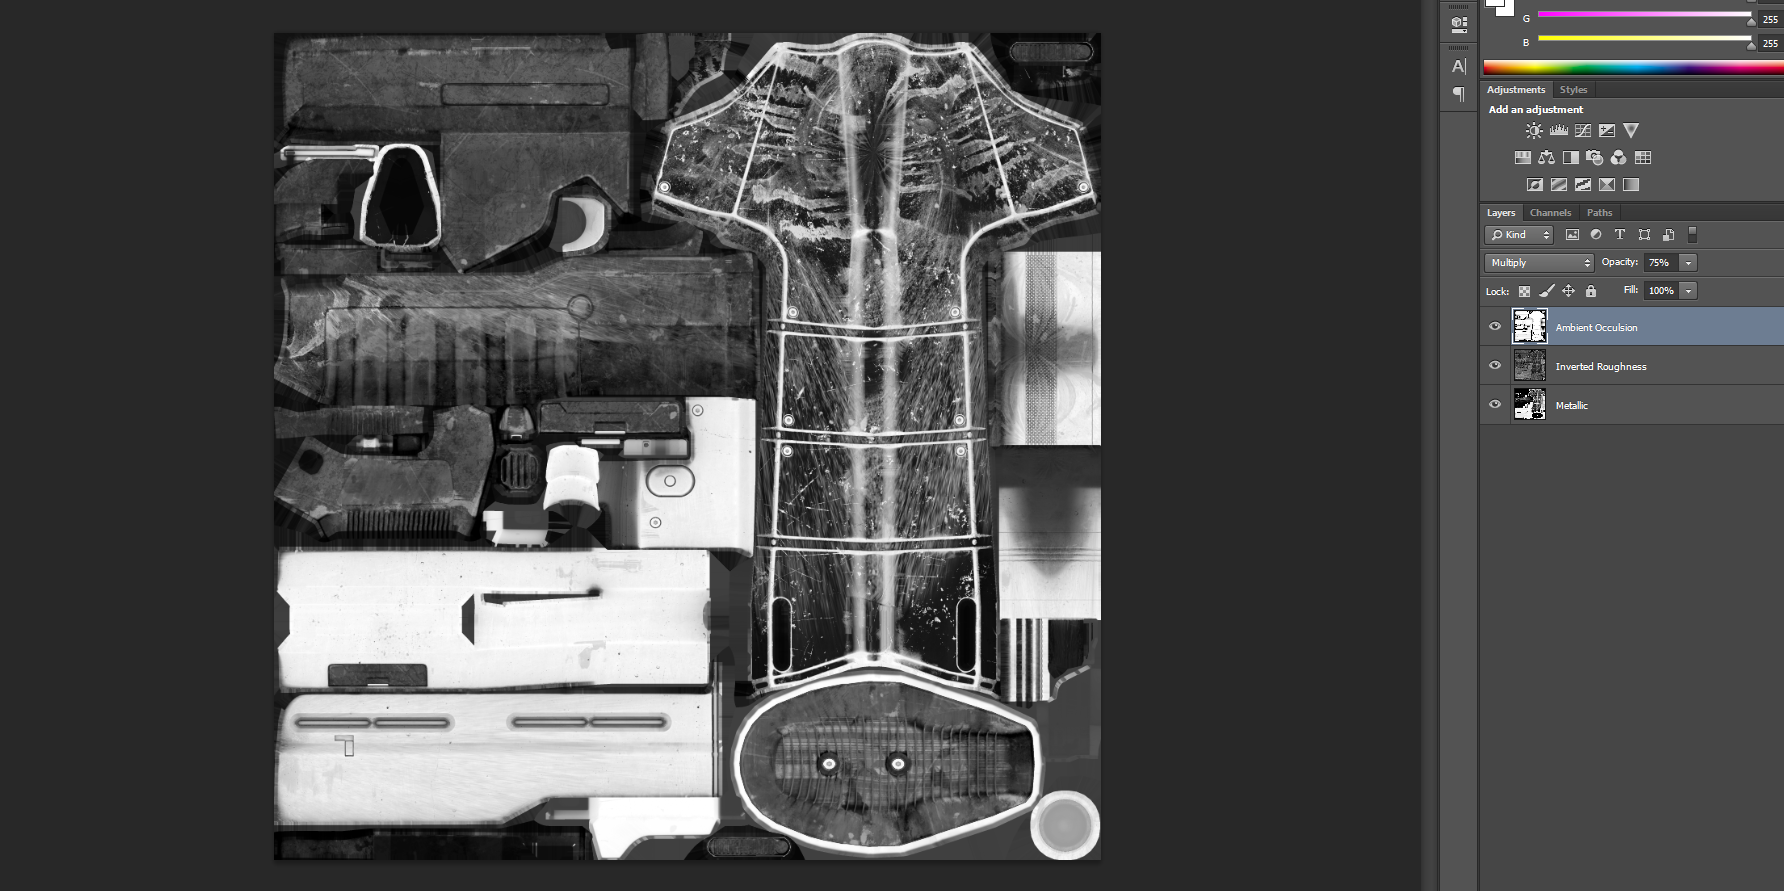
Multiplied Ambient Occlusion map
- Save your new Specular map as .TIF in your asset's bitmaps folder.
And there you go, you should now have a working Specular map. Make sure to save an editable copy of the Specular map in case you wish to make changes later.
Step 3: creating a control map
Halo 3's PBR shader needs one more texture map to complete the shader. This Control map holds two texture maps in the RGB color channels. In the red channel is the Specular map and in the green channel is the Roughness map. The blue channel is just a solid white. This is the most important step. Without the correct Control map setup, your asset will not look correct in-engine.
Setup steps:
- Merge all the layers of your Specular map.
- Copy your Specular map.
- Create a new image with the exact same pixel resolution of the Specular map.
- Open the color channels of the new image and paste the Specular map in the red channel.
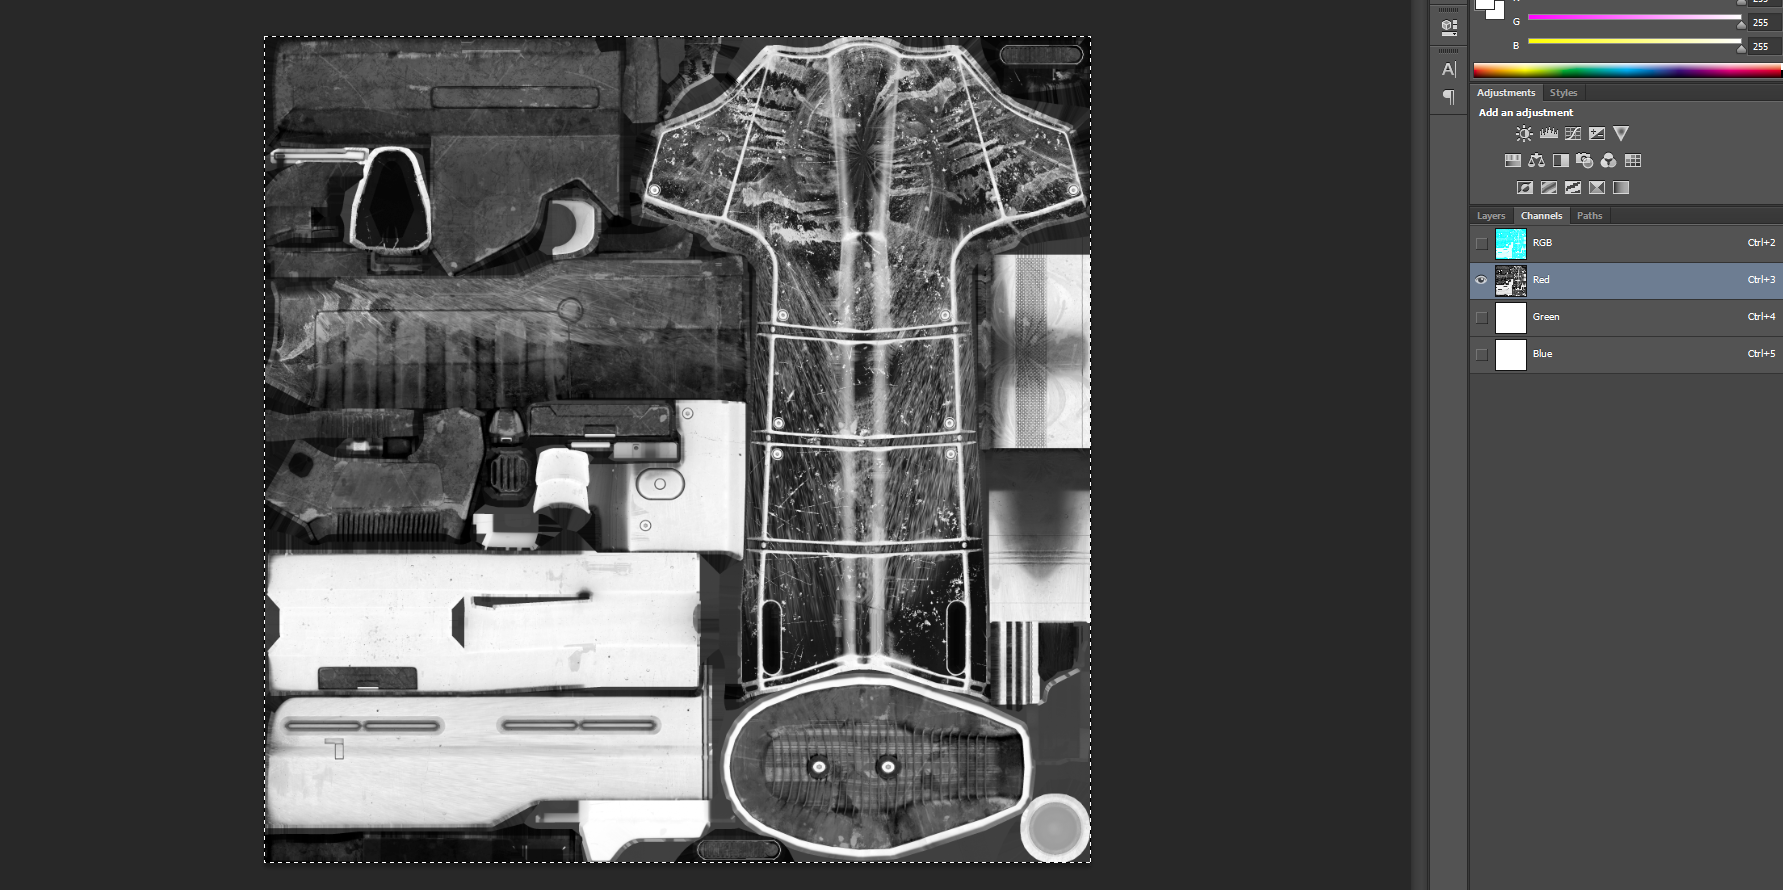
Specular map in the red channel
NOTE: If you do not have a Metallic map, make the red channel solid black.
- Copy your unaltered Roughness map and paste it into the green channel.
- Make the blue channel solid white.
Roughness map in the green channel
- Save your new Control map as .TIF in your asset's bitmaps folder.
The final Control map should resemble a pink and blue texture, with the pink colors representing the reflective surfaces and the blue colors the dull surfaces. If you have a material that has no metal, the Control map should only have blue colors.
Final Control map
Step 4: converting a normal map
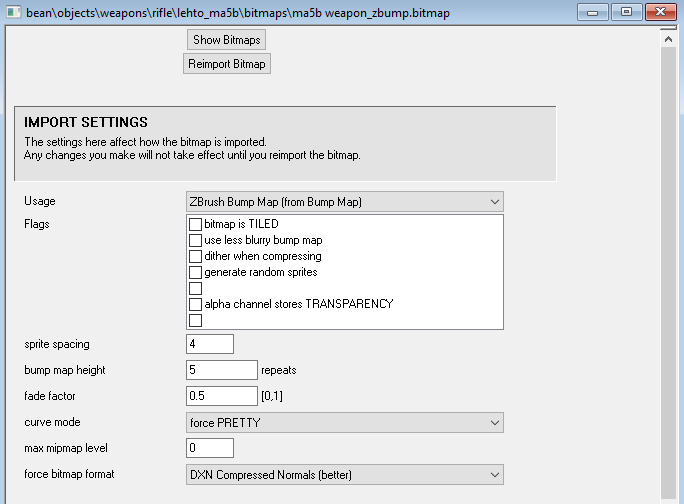
Make sure to identify what type of Normal map you have (click here to learn more). Halo 3 uses DirectX normals and those do not need to be converted to work with the engine. Simply save the normal as a .TIF in your asset's bitmaps folder and you will be good to go.
However, if you have an OpenGL normal map, you will need to do the following:
Conversion Steps
- Open up your OpenGL Normal map in your photo editing program.
- Go to the color channels of the Normal map.
- Select ONLY the green channel and press Ctrl + I to invert the green channel.
Normal map converted to DirectX format
- Re-enable all the color channels and save your converted Normal map as .TIF in your asset's bitmaps folder.
To make the texture importing more streamlined, end your texture file name with the _zbump keyword to have the normal map import in the correct format.
Creating new textures with Adobe Substance Designer
If you have Adobe Substance Designer, you can easily export your new textures with this graph preset made by Grim! You can download it here.
Substance Template
For new graphs, drag the preset into any folder you like, then point Designer to the folder in Preferences>Projects>General. You should now see the preset show up when creating new graphs.
For existing graphs, open the preset in Designer and copy-paste the contents into your project.
When using any RGB/Alpha merge nodes, the alpha channel for any applicable textures must not be left blank, or else you will have export issues.
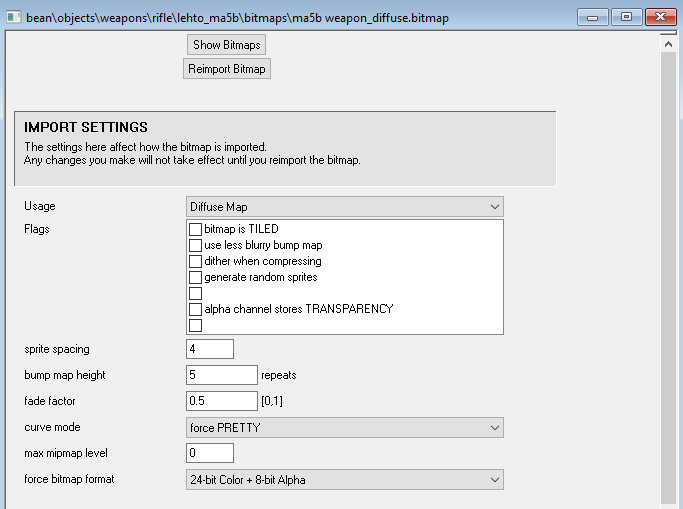
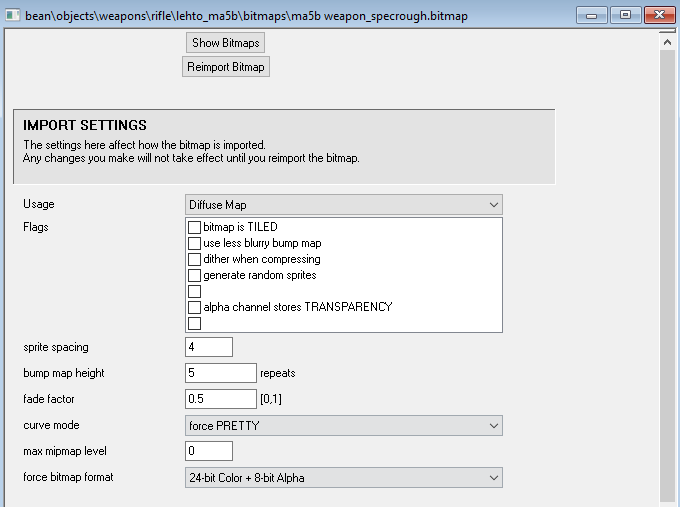
Bitmap settings
Once everything has been exported as .TIFs and imported into Guerilla, the textures (known as bitmaps in Halo 3) need to be configured to render correctly. Below is the bitmap settings you need to use for your PBR asset:
Diffuse bitmap:
Control bitmap:
Normal bitmap:
Emission bitmap:

Parallax bitmap:

Shader settings
The final step in this process is configuring the shader settings. Below is a picture showcasing what your shader values and settings need to be set to:
Shader settings to use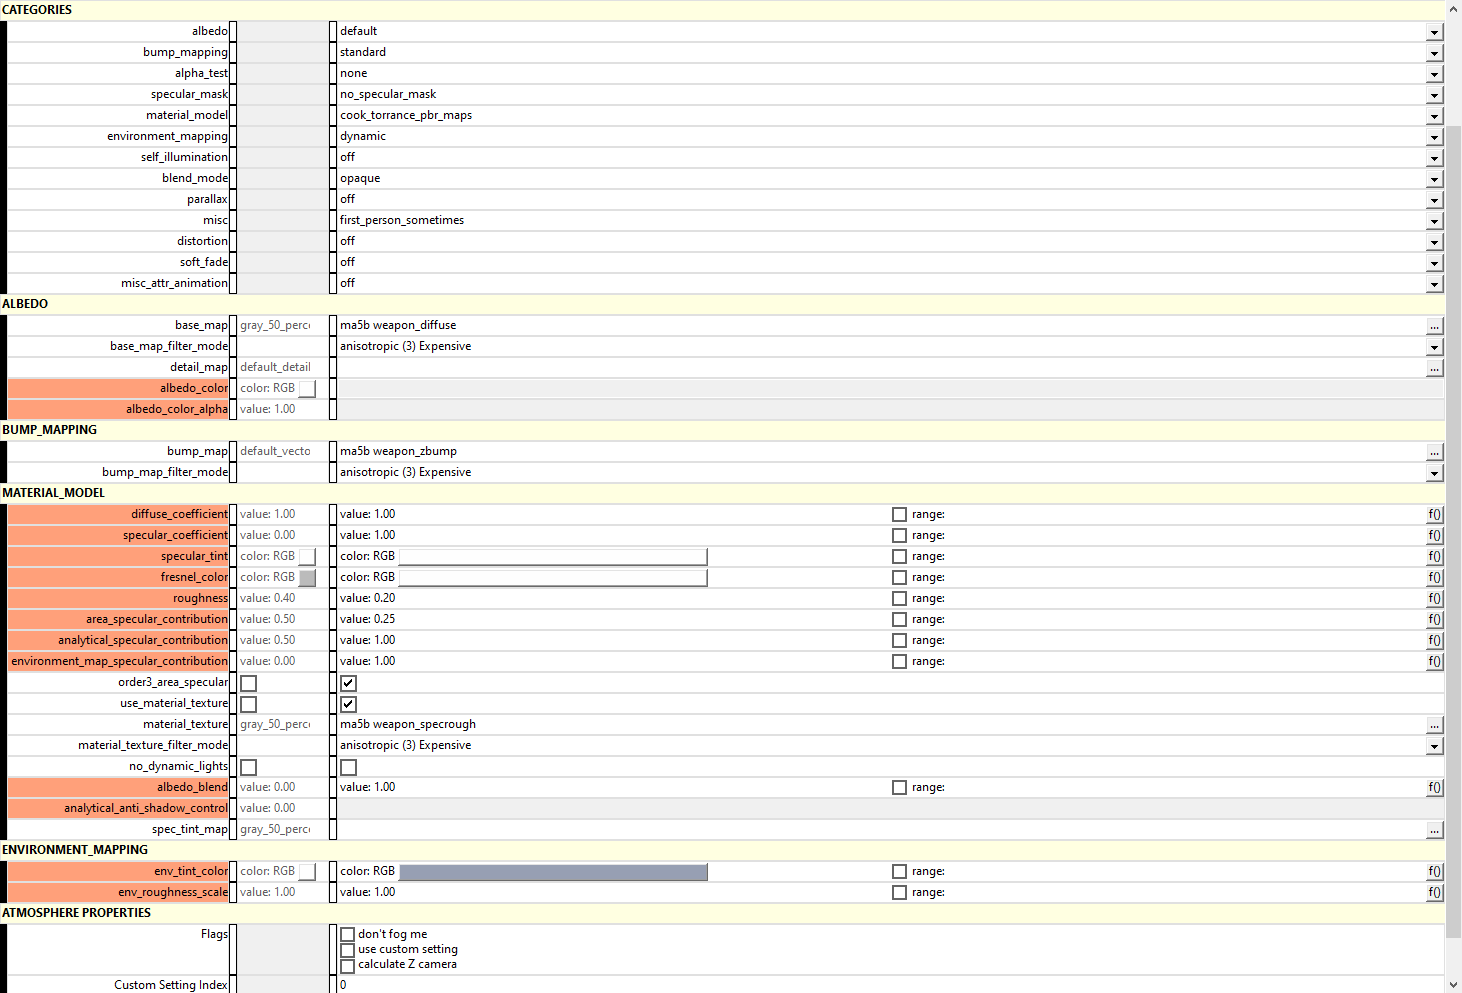
- The base_map field is where your Diffuse map goes.
- The bump_map field is where your Normal map goes.
- The material_
texture field is where your Control map goes.
NOTE: To enable the emission and parallax fields, make sure to enable them in the Categories section.
- Set self_
illumination to Simple. - Set parallax to Simple or if you want the best quality Interpolated.
Here is an example of some settings for emission and parallax:
Emission and parallax settings to use.
The only settings that you should really play with while using the PBR shader is:
area_specular_contributionanalytical_specular_contributionenvironment_map_specular_contribution
With everything combined and set, you should now have your asset rendering with the PBR shader.:
Final PBR shader setup for the asset.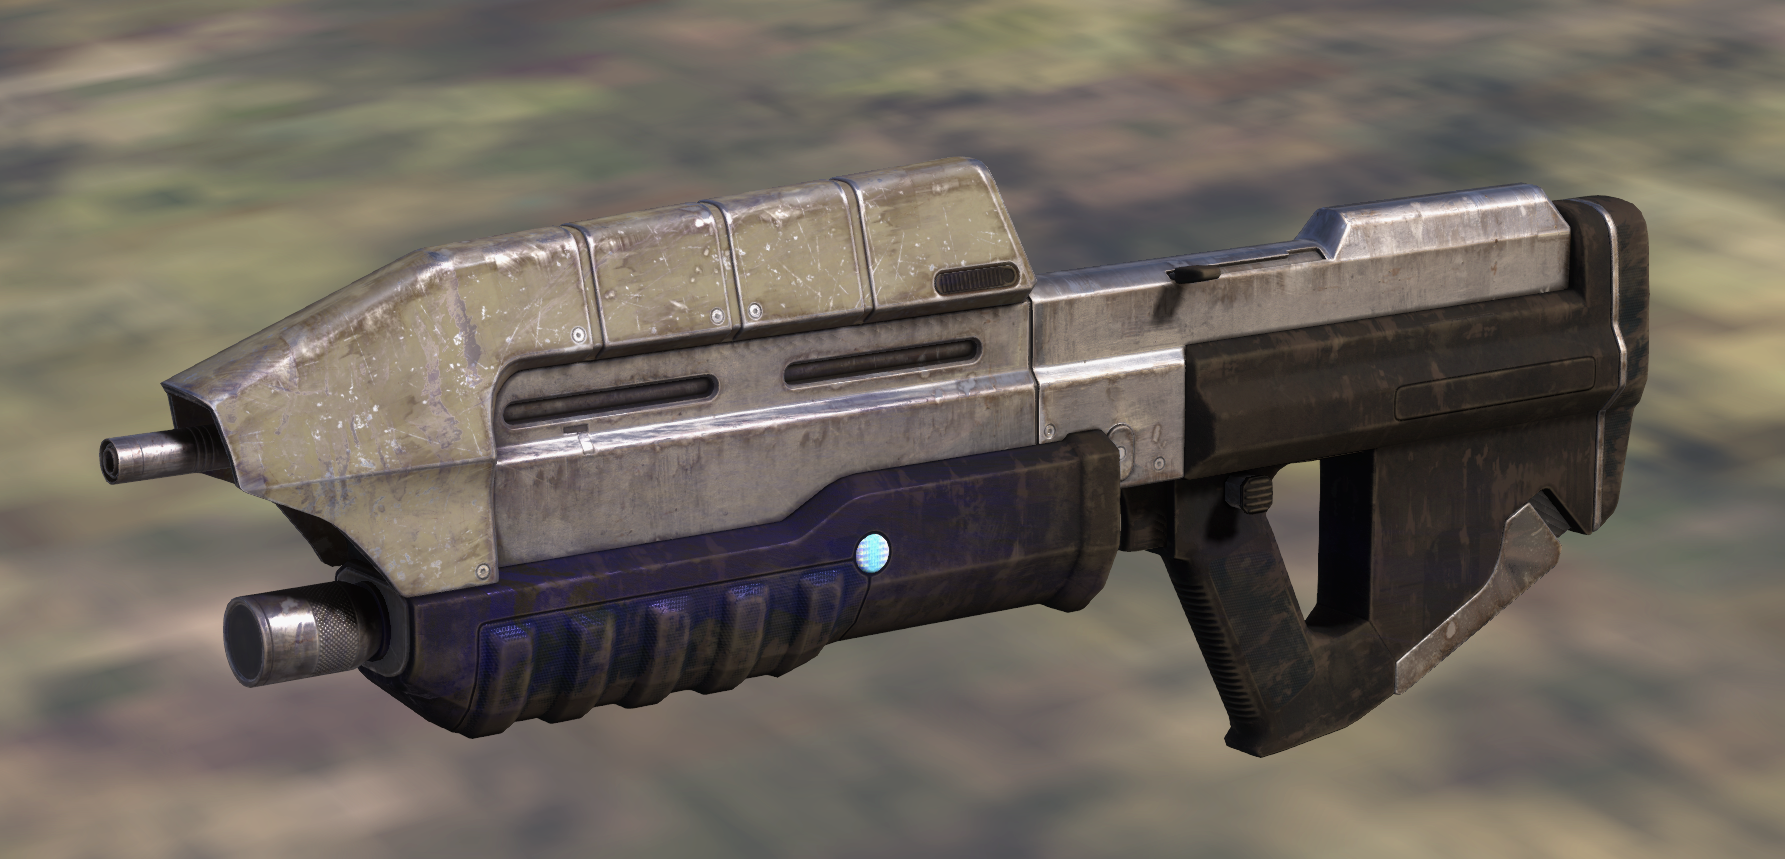
Acknowledgements
Thanks to the following individuals for their research or contributions to this topic:
- TheChunkierBean (Writing this page)
- TheGrimDealer (Help with Adobe Substance research)